Appium Inspector
Introduction
TV Labs supports the use of Appium Inspector for debugging Appium sessions. Appium Inspector is a desktop and web application interface built for the Appium test automation framework useful for debugging and developing Appium scripts on real devices. Support for TV Labs as a cloud provider is available in Appium Inspector from version 2025.3.1 onwards.
What to expect:
- ⏱️ Duration: 10 minutes
- 🎯 Audience: Developers interested in using Appium Inspector for debugging Appium sessions on the TV Labs platform
- 🧠 Outcome: Understanding how to launch the Appium Inspector both outside and during a live sessions.
Also see: The official Appium Inspector Github repository provides information on using Appium Inspector.
Limitations
The Appium Inspector is a powerful tool for debugging Appium sessions, but there are some limitations. The capabilities of the Inspector are limited to the functionality supported by the underlying driver. To see which drivers are used for which platforms, see the Platforms section of the Appium Scripting documentation.
Connecting via Live Session
Not all drivers support Appium Inspector. See the Platforms section of the Appium documentation for information on which platforms support Appium Inspector.
You may access the Appium Inspector directly from within the TV Labs Live Session product. This is useful if you are already in a session with a device, and want to start an Appium Inspector session at the same time, allowing you to toggle back and forth between the inspector and the Live Session controls.
If you prefer to connect to a TV Labs device through the Appium Inspector, skip to the Connecting via Appium Inspector section.
Before beginning, you will need a couple things:
- Access to a TV Labs device that supports Appium via the Live Session page.
- An application build to debug.
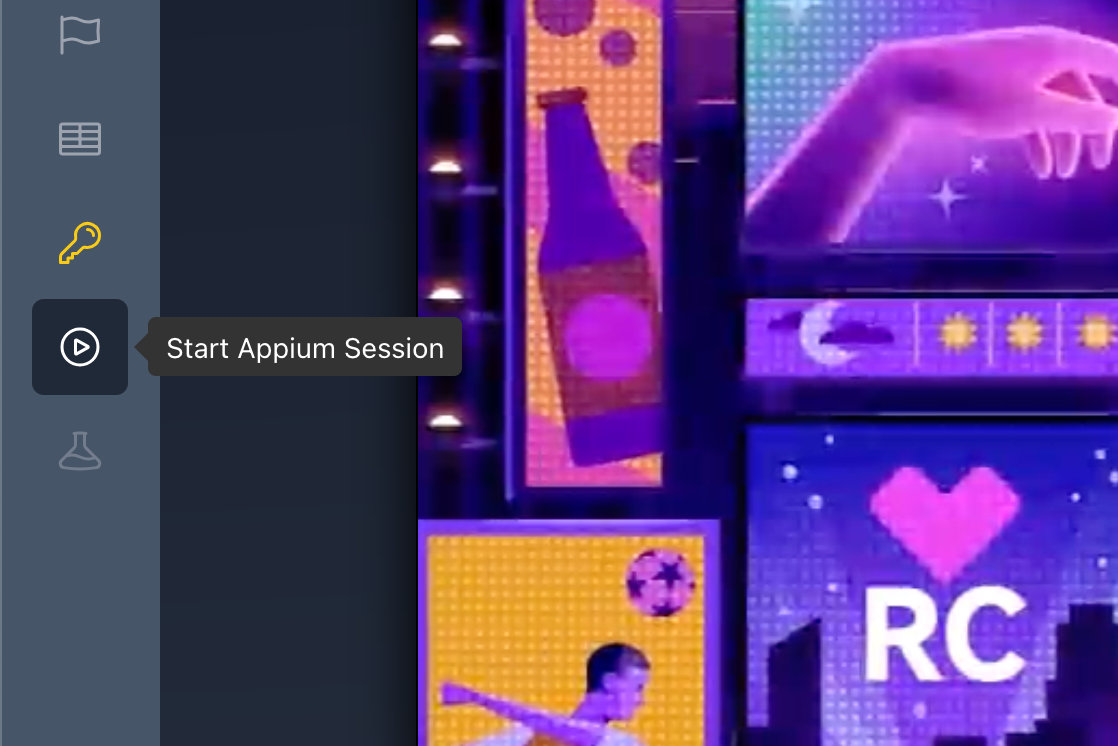
As the very first step, start a Live Session with the target TV Labs device. Once you are in a session, look for the Start Appium Session button on the toolbar on the left-hand side of the screen.
Clicking this button will open a form to configure your Appium session. First select a build you wish to target from your organizations apps, or click "Skip Build Selection".
Not all drivers support Appium sessions without selecting a build. Please see the documentation for the underlying driver to check if starting a session without any app specified is supported.

Next, enter any extra capabilities you wish to include in your Appium session. This is optional, as all required capabilities are added automatically for you. You can view and copy the capabilities required for your script in the preview section.
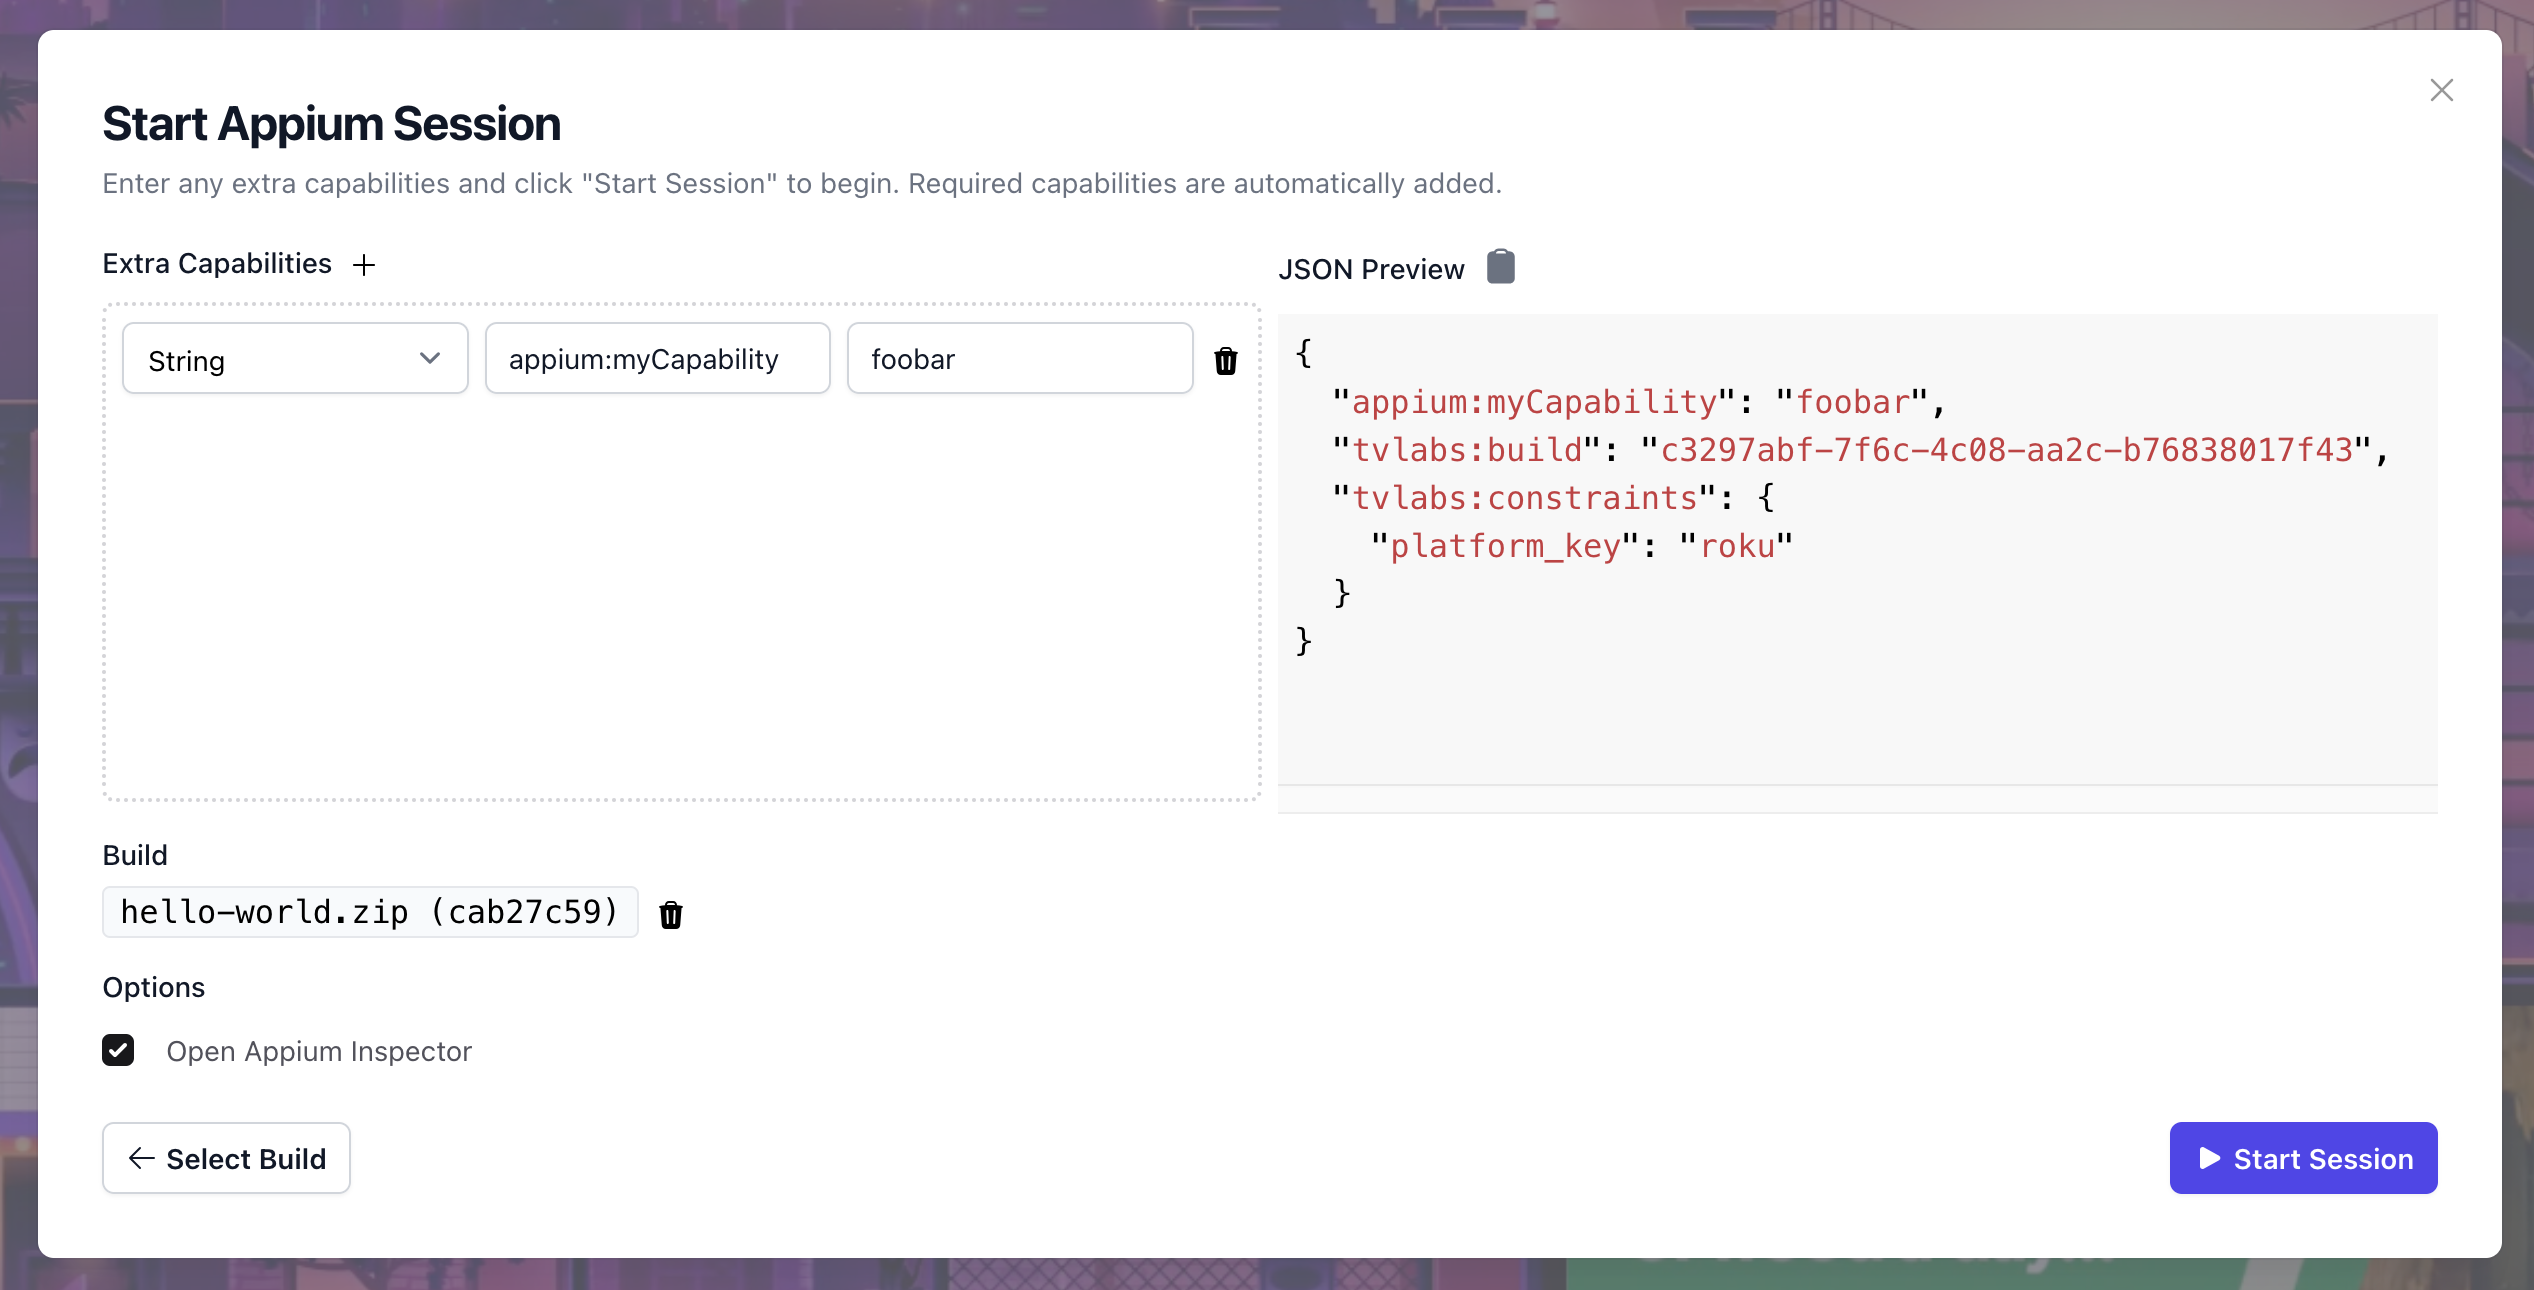
Once you are ready to proceed, click the Start Session button. This will do a few things:
- Sideload your selected build on the device
- Make a start session request to the Appium server for the device
- Initialize the Appium Inspector for this session
If Open Appium Inspector was checked, the inspector will open automatically after the session begins. Otherwise you can click the Toggle Appium Inspector button in the left-hand toolbar.
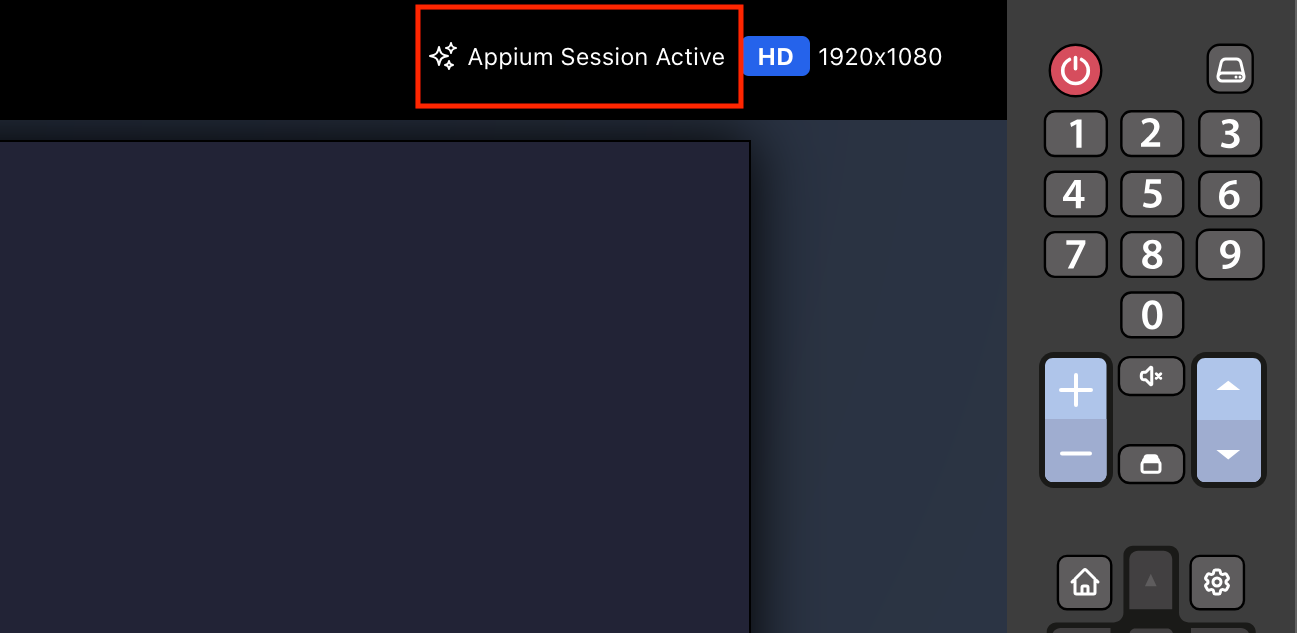
When an Appium session is starting, active, or stopping, there will be an indicator on the top-right of the screen.
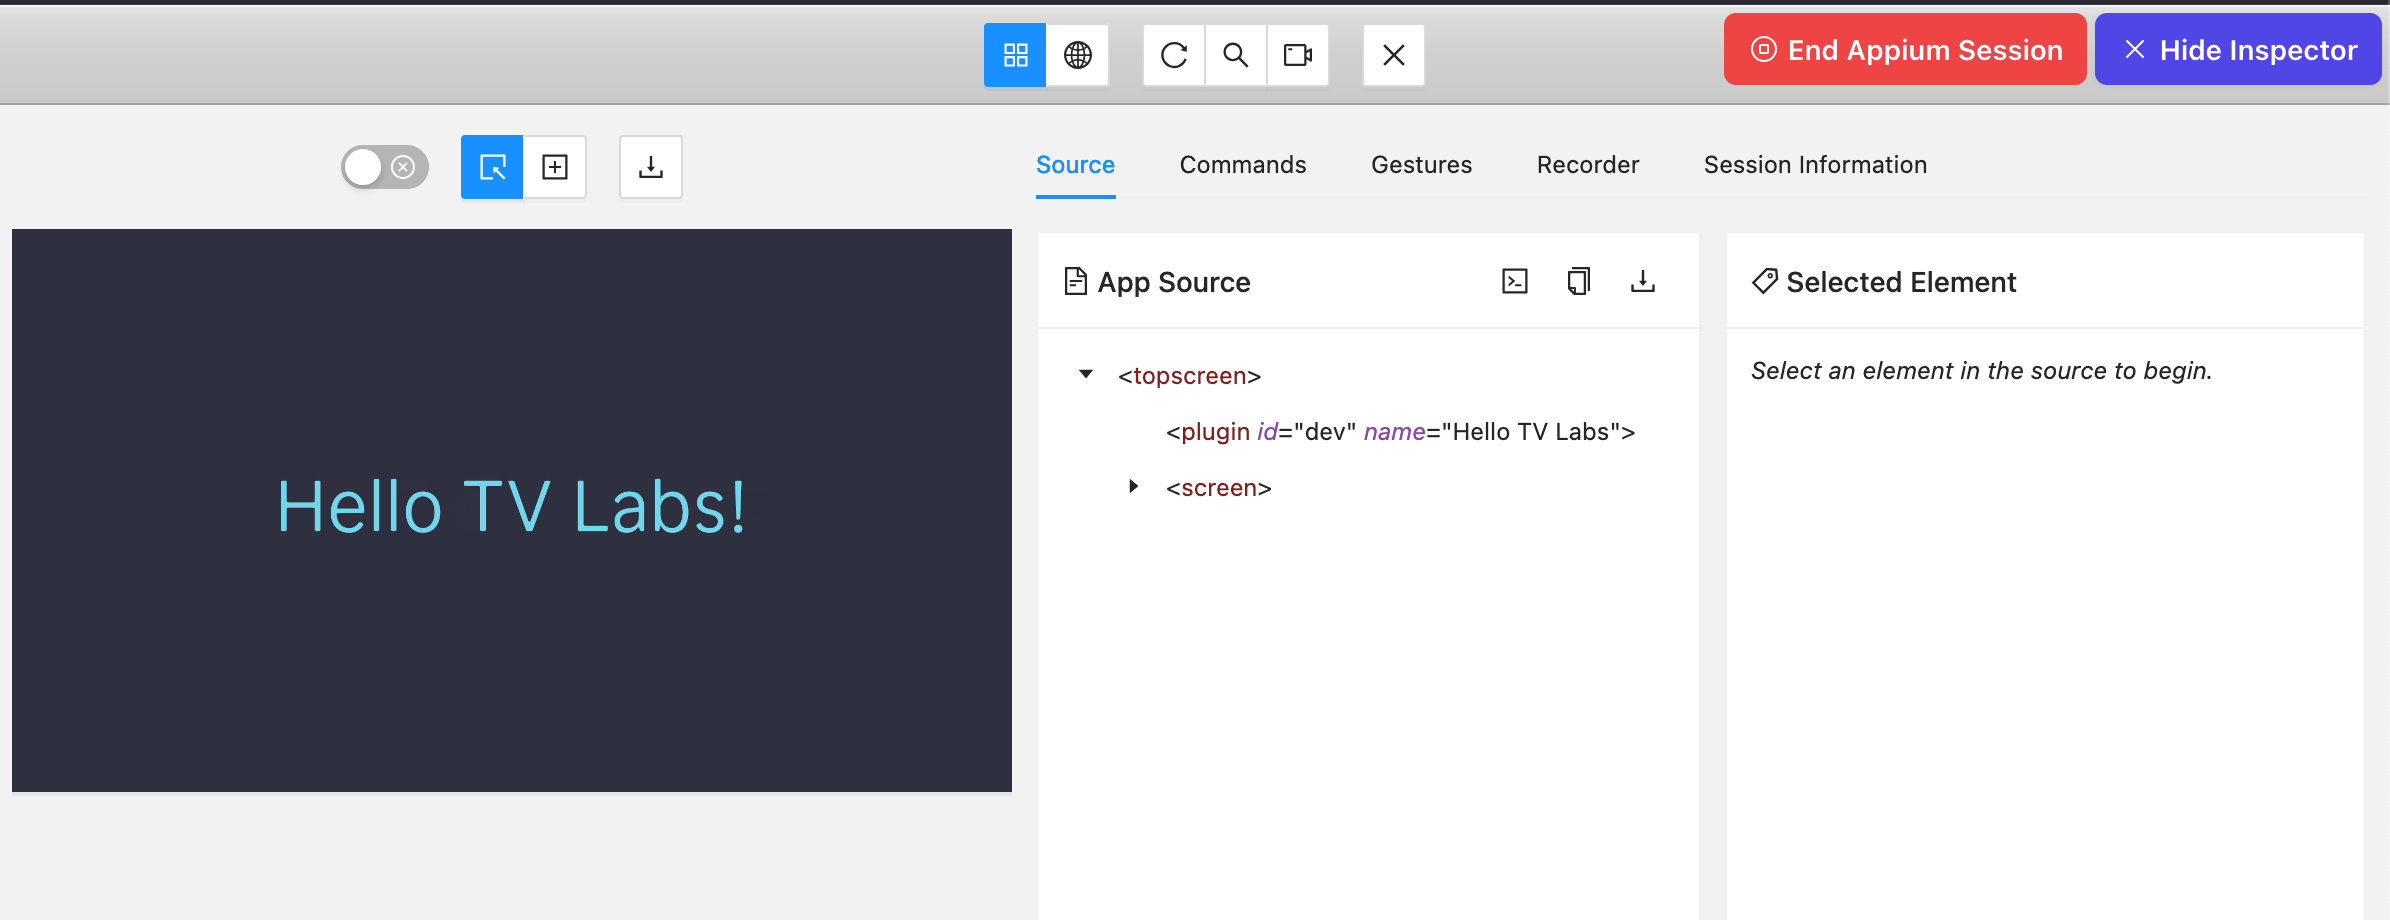
Congratulations! You are now connected to an Appium session using Appium Inspector with this device.
To hide the inspector during a session, click the Hide Inspector button in the top right of the inspector view. If you wish to end the Appium session from the inspector, click the End Appium Session button instead.
Connecting via Appium Inspector
A TV Labs device can be accessed directly through the Appium Inspector, without needing to start a Live Session first.
Before beginning, you will need a couple things:
- Access to a TV Labs device that supports Appium.
- Access to the Appium Inspector desktop application or web interface.
To install the Appium Inspector desktop application, go to the Appium Inspector Github Releases page and download the latest version for your device.
To access a hosted version of Appium Inspector, visit the Appium Pro Appium Inspector page.
Appium Pro does not always keep the hosted inspector up to date with the latest version. If using a hosted web version of the inspector, please double check that the version is 2025.3.1 or higher to ensure support with TV Labs.
Connecting to a TV Labs device through the Appium Inspector is very similar to configuring a regular Appium script: you will need to create a set of capabilities and provide an API key to connect to the platform. For more details on available capabilities, see the Appium Scripting documentation.
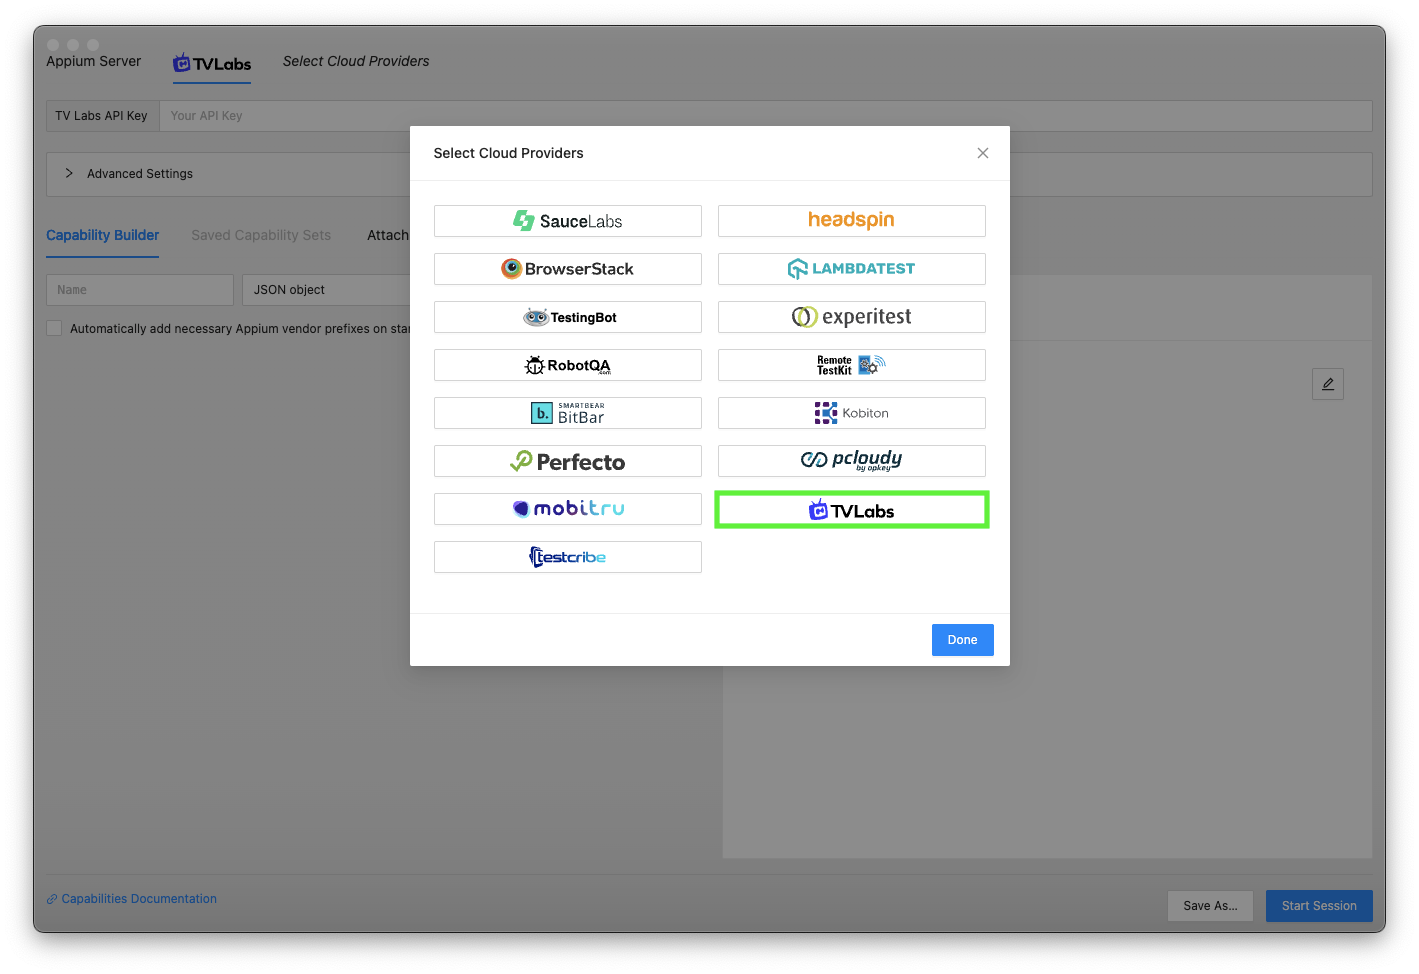
In this example, we will connect to a Roku device. First open the Appium Inspector and select "TV Labs" as the cloud provider.
Next, if you don't already have an API key, create one in the API Keys page. If you already have an API key, you can skip this step.
Now we can begin to configure the capabilities to access a Roku device:
- Add a
tvlabs:buildcapability with the build ID of a Roku application. - Add a
tvlabs:constraintscapability with the constraints for the Roku platform.
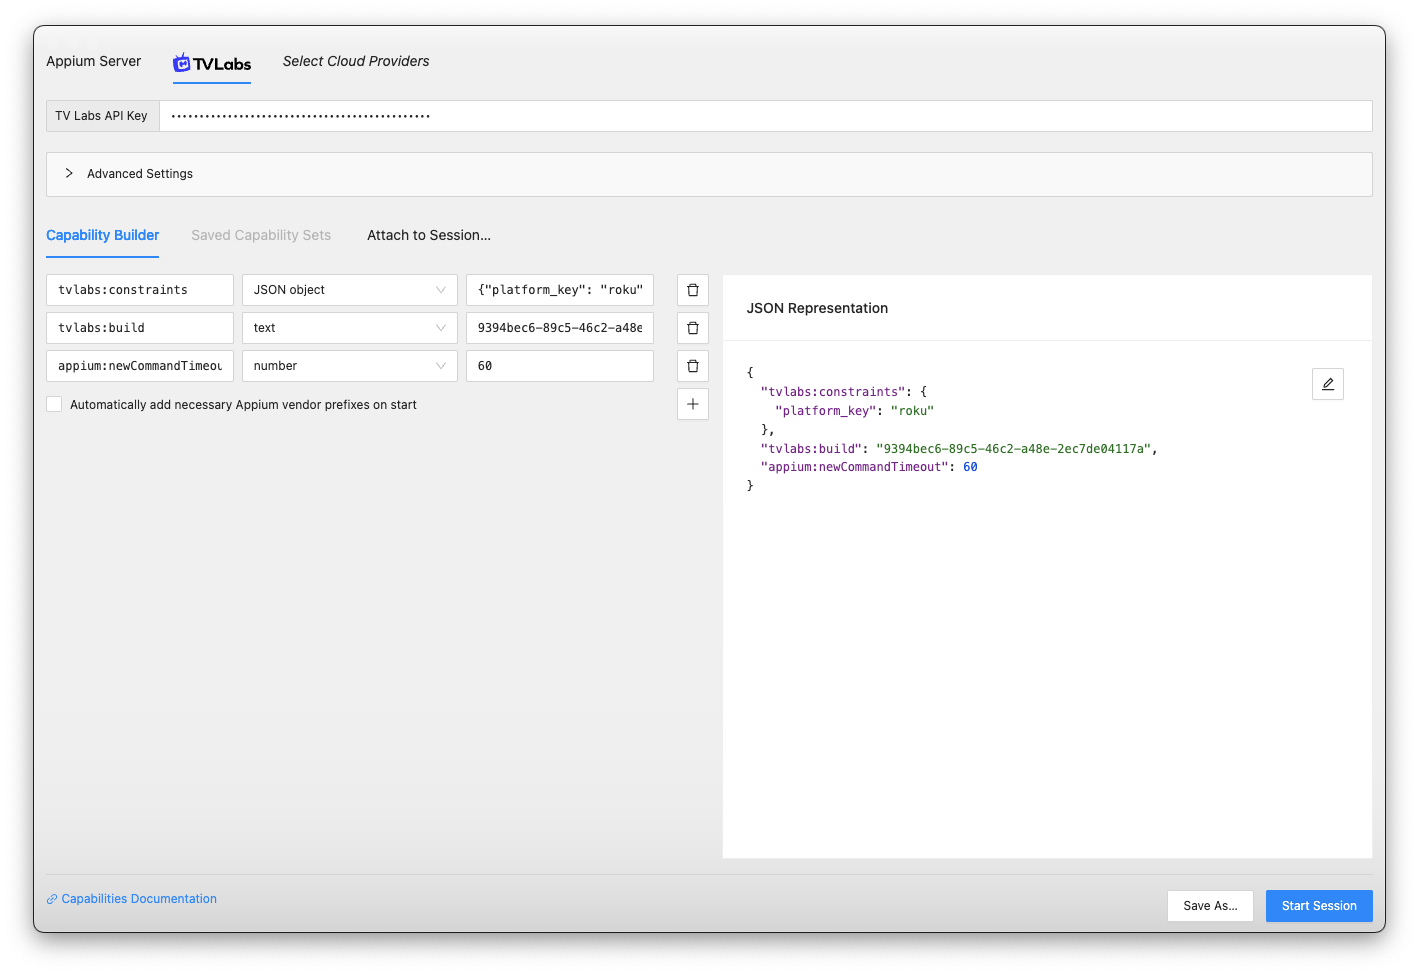
Now click Create Session and the Appium Inspector will connect to the TV Labs device and open the Roku application specified in the tvlabs:build capability.
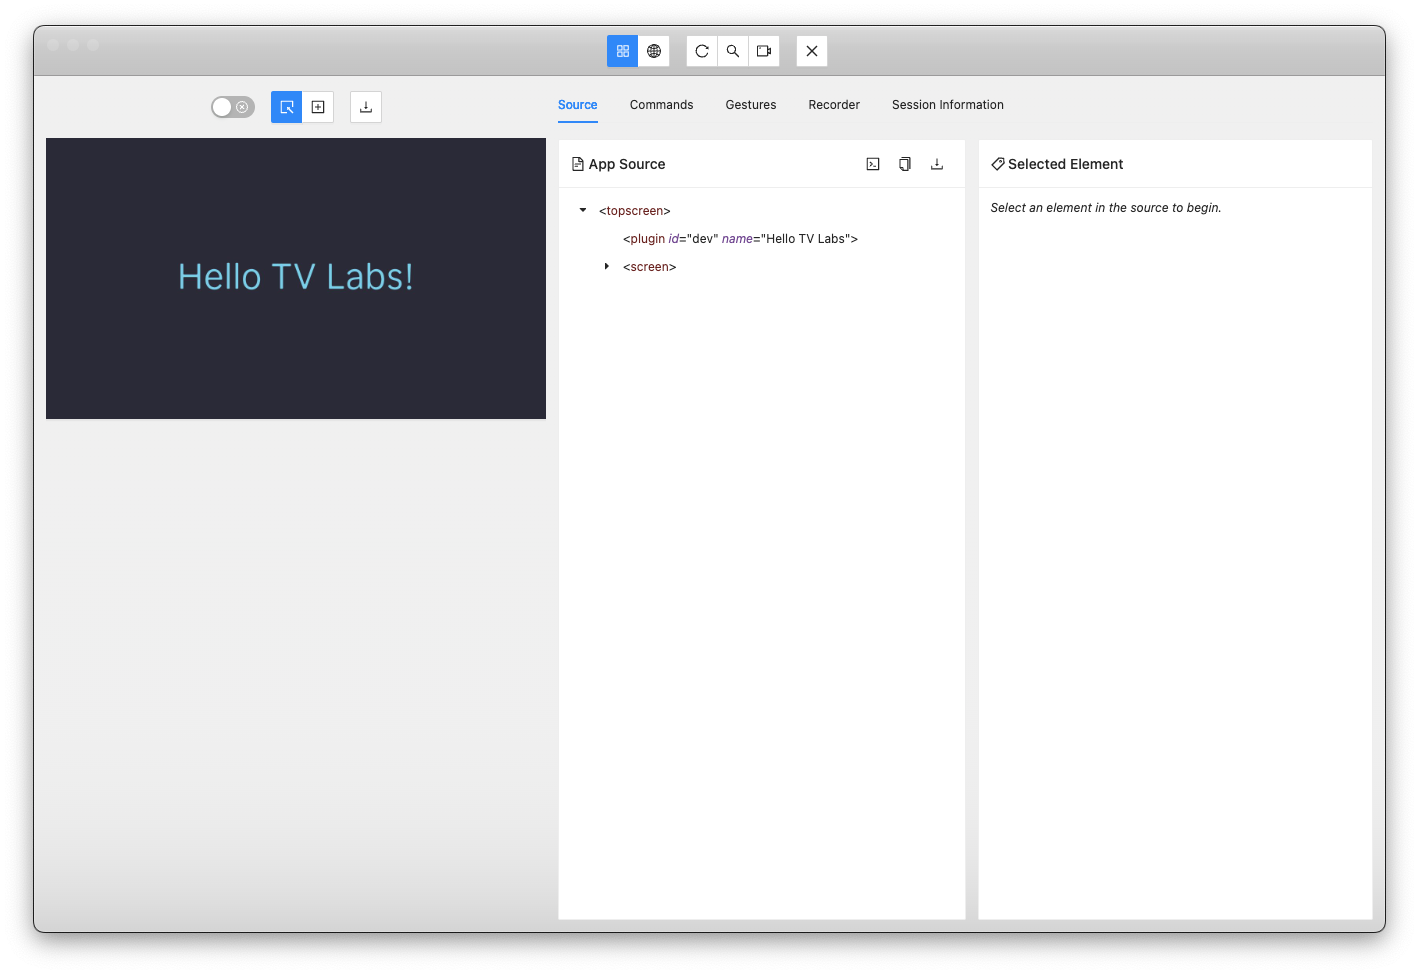
Congratulations! You are now connected to a TV Labs device using Appium Inspector.
To see live playback of your session, visit the Sessions page and select the session you created.